> ## Documentation Index
> Fetch the complete documentation index at: https://xata.io/docs/llms.txt
> Use this file to discover all available pages before exploring further.
# Quickstart
> Quickstart guide for Xata's PostgreSQL platform
Xata is a PostgreSQL platform that provides instant Copy-on-Write branching, data masking, and separation of storage from compute. It's designed for modern teams running PostgreSQL at scale, with features like zero-downtime schema changes, realistic production clones, and cloud-agnostic deployment options.
## 1. Sign up
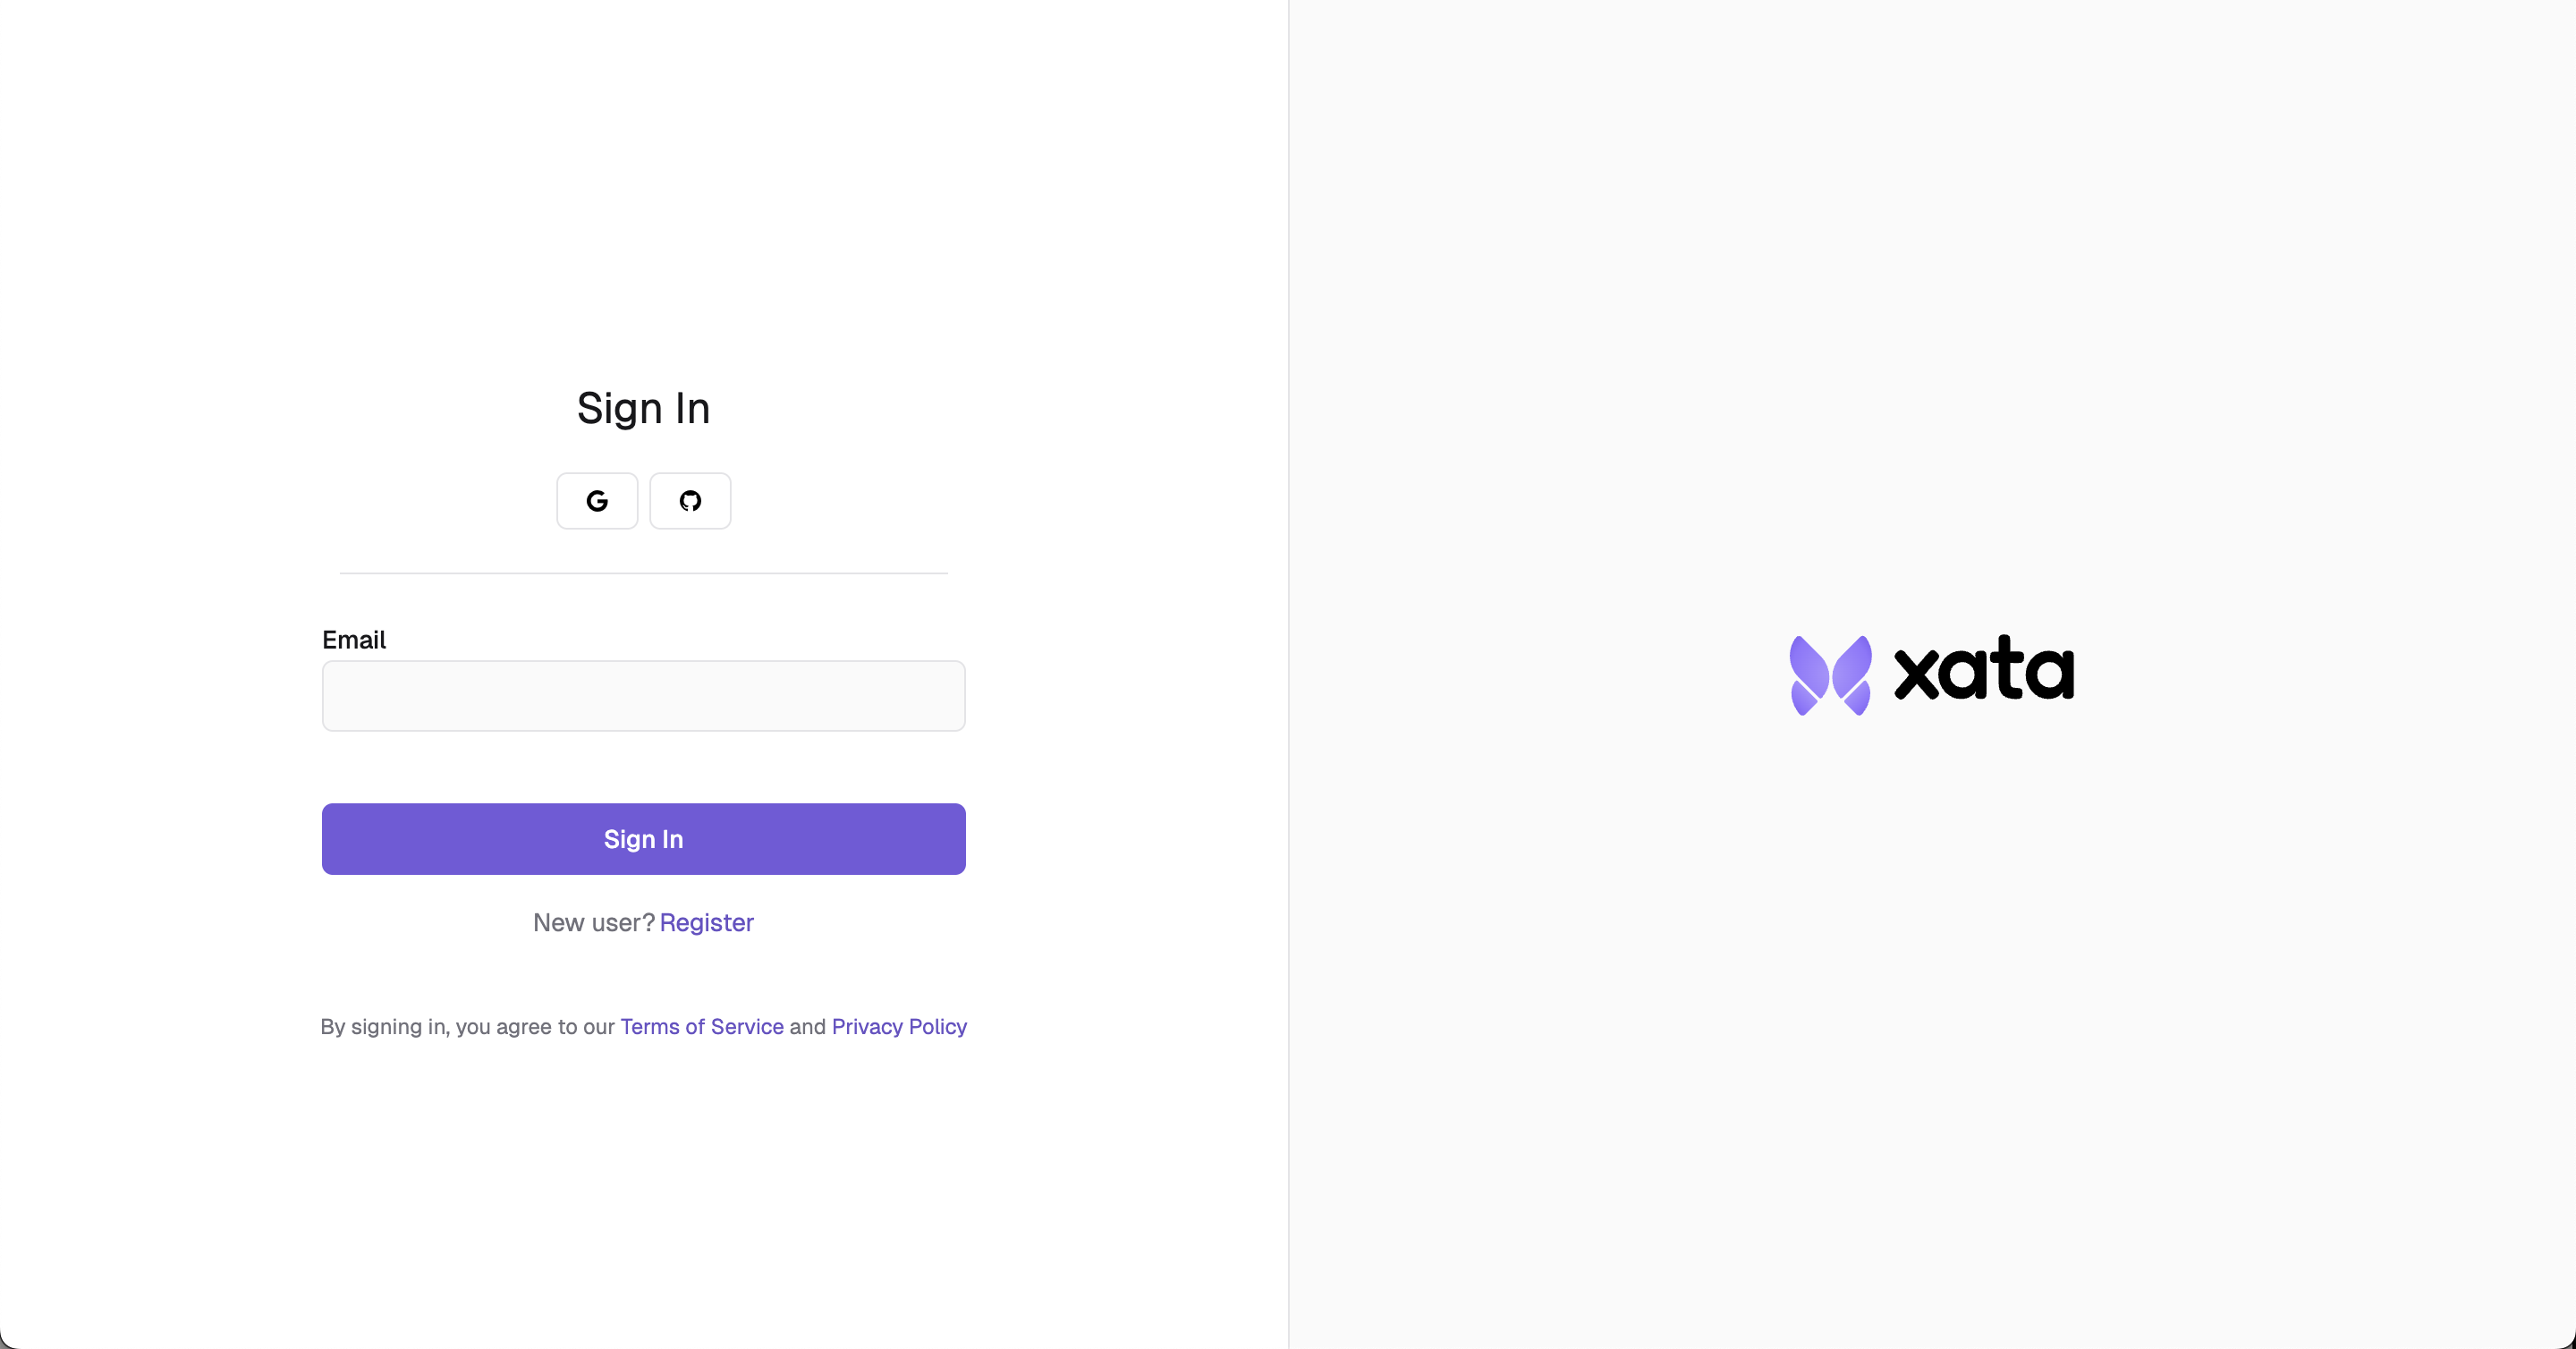
Create your free Xata account at [console.xata.io](https://console.xata.io). You can sign up with GitHub, Google, or your email address.
 ## 2. Create a project
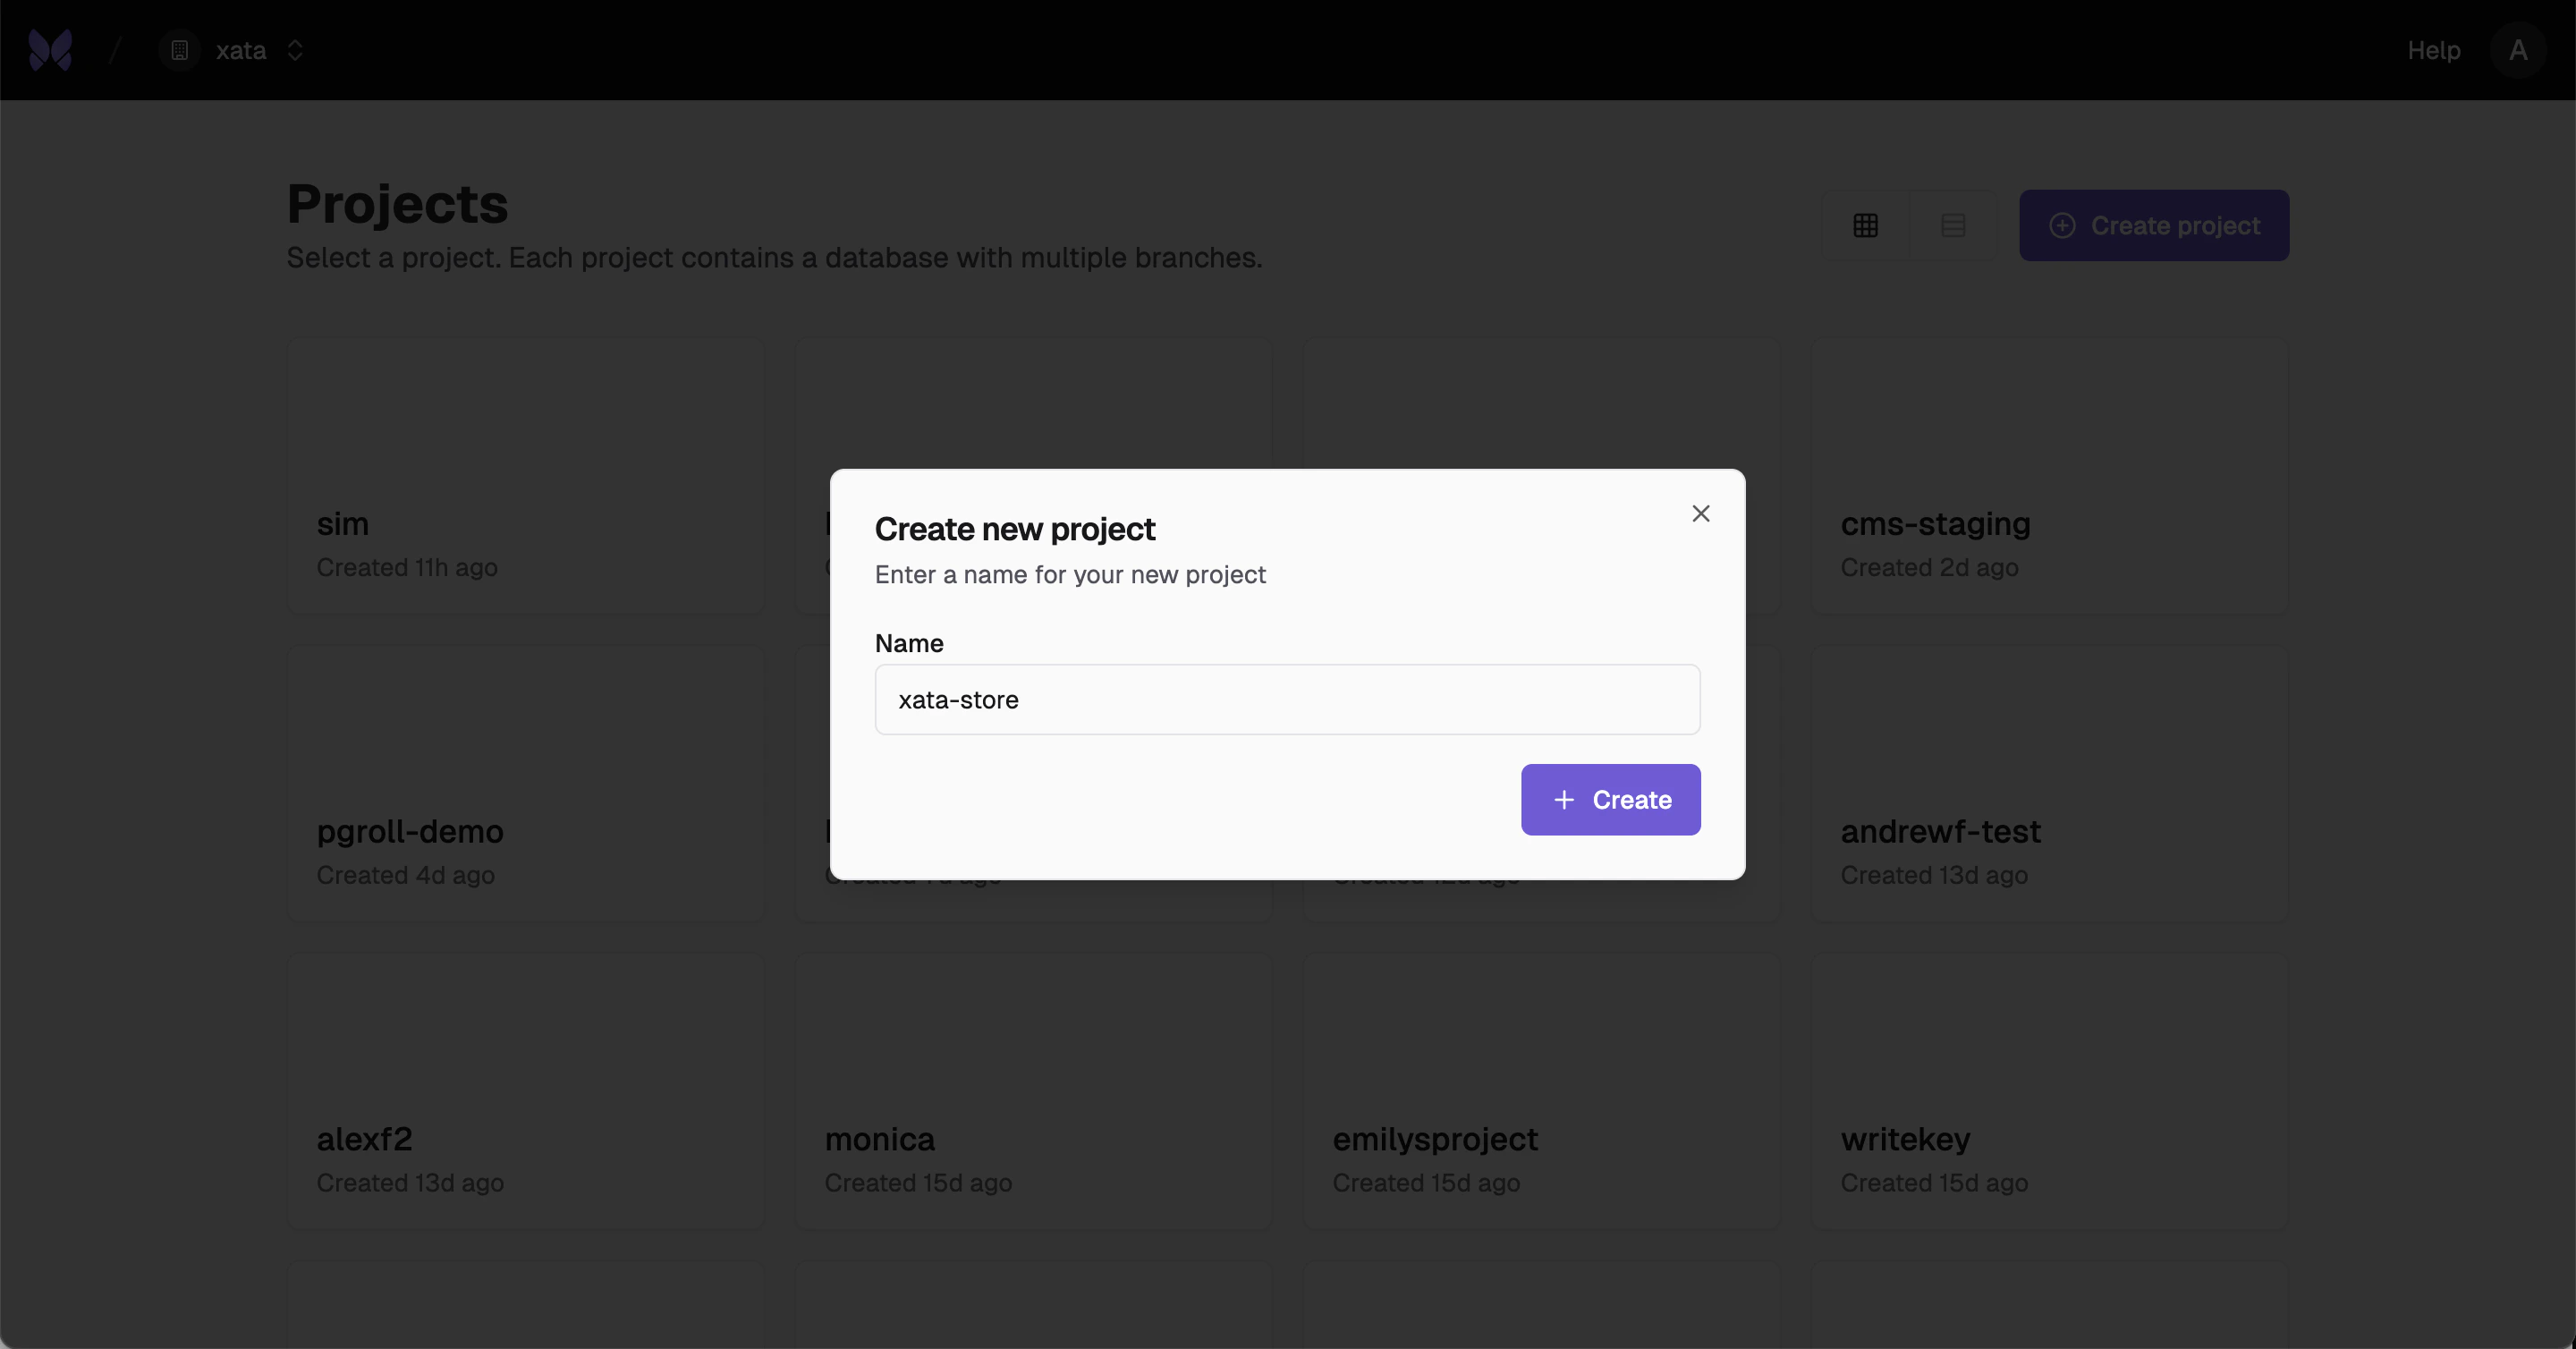
After signing in, create a new project. A project is the top-level container for all your branches and Postgres instances.
## 2. Create a project
After signing in, create a new project. A project is the top-level container for all your branches and Postgres instances.
 ## 3. Create a branch
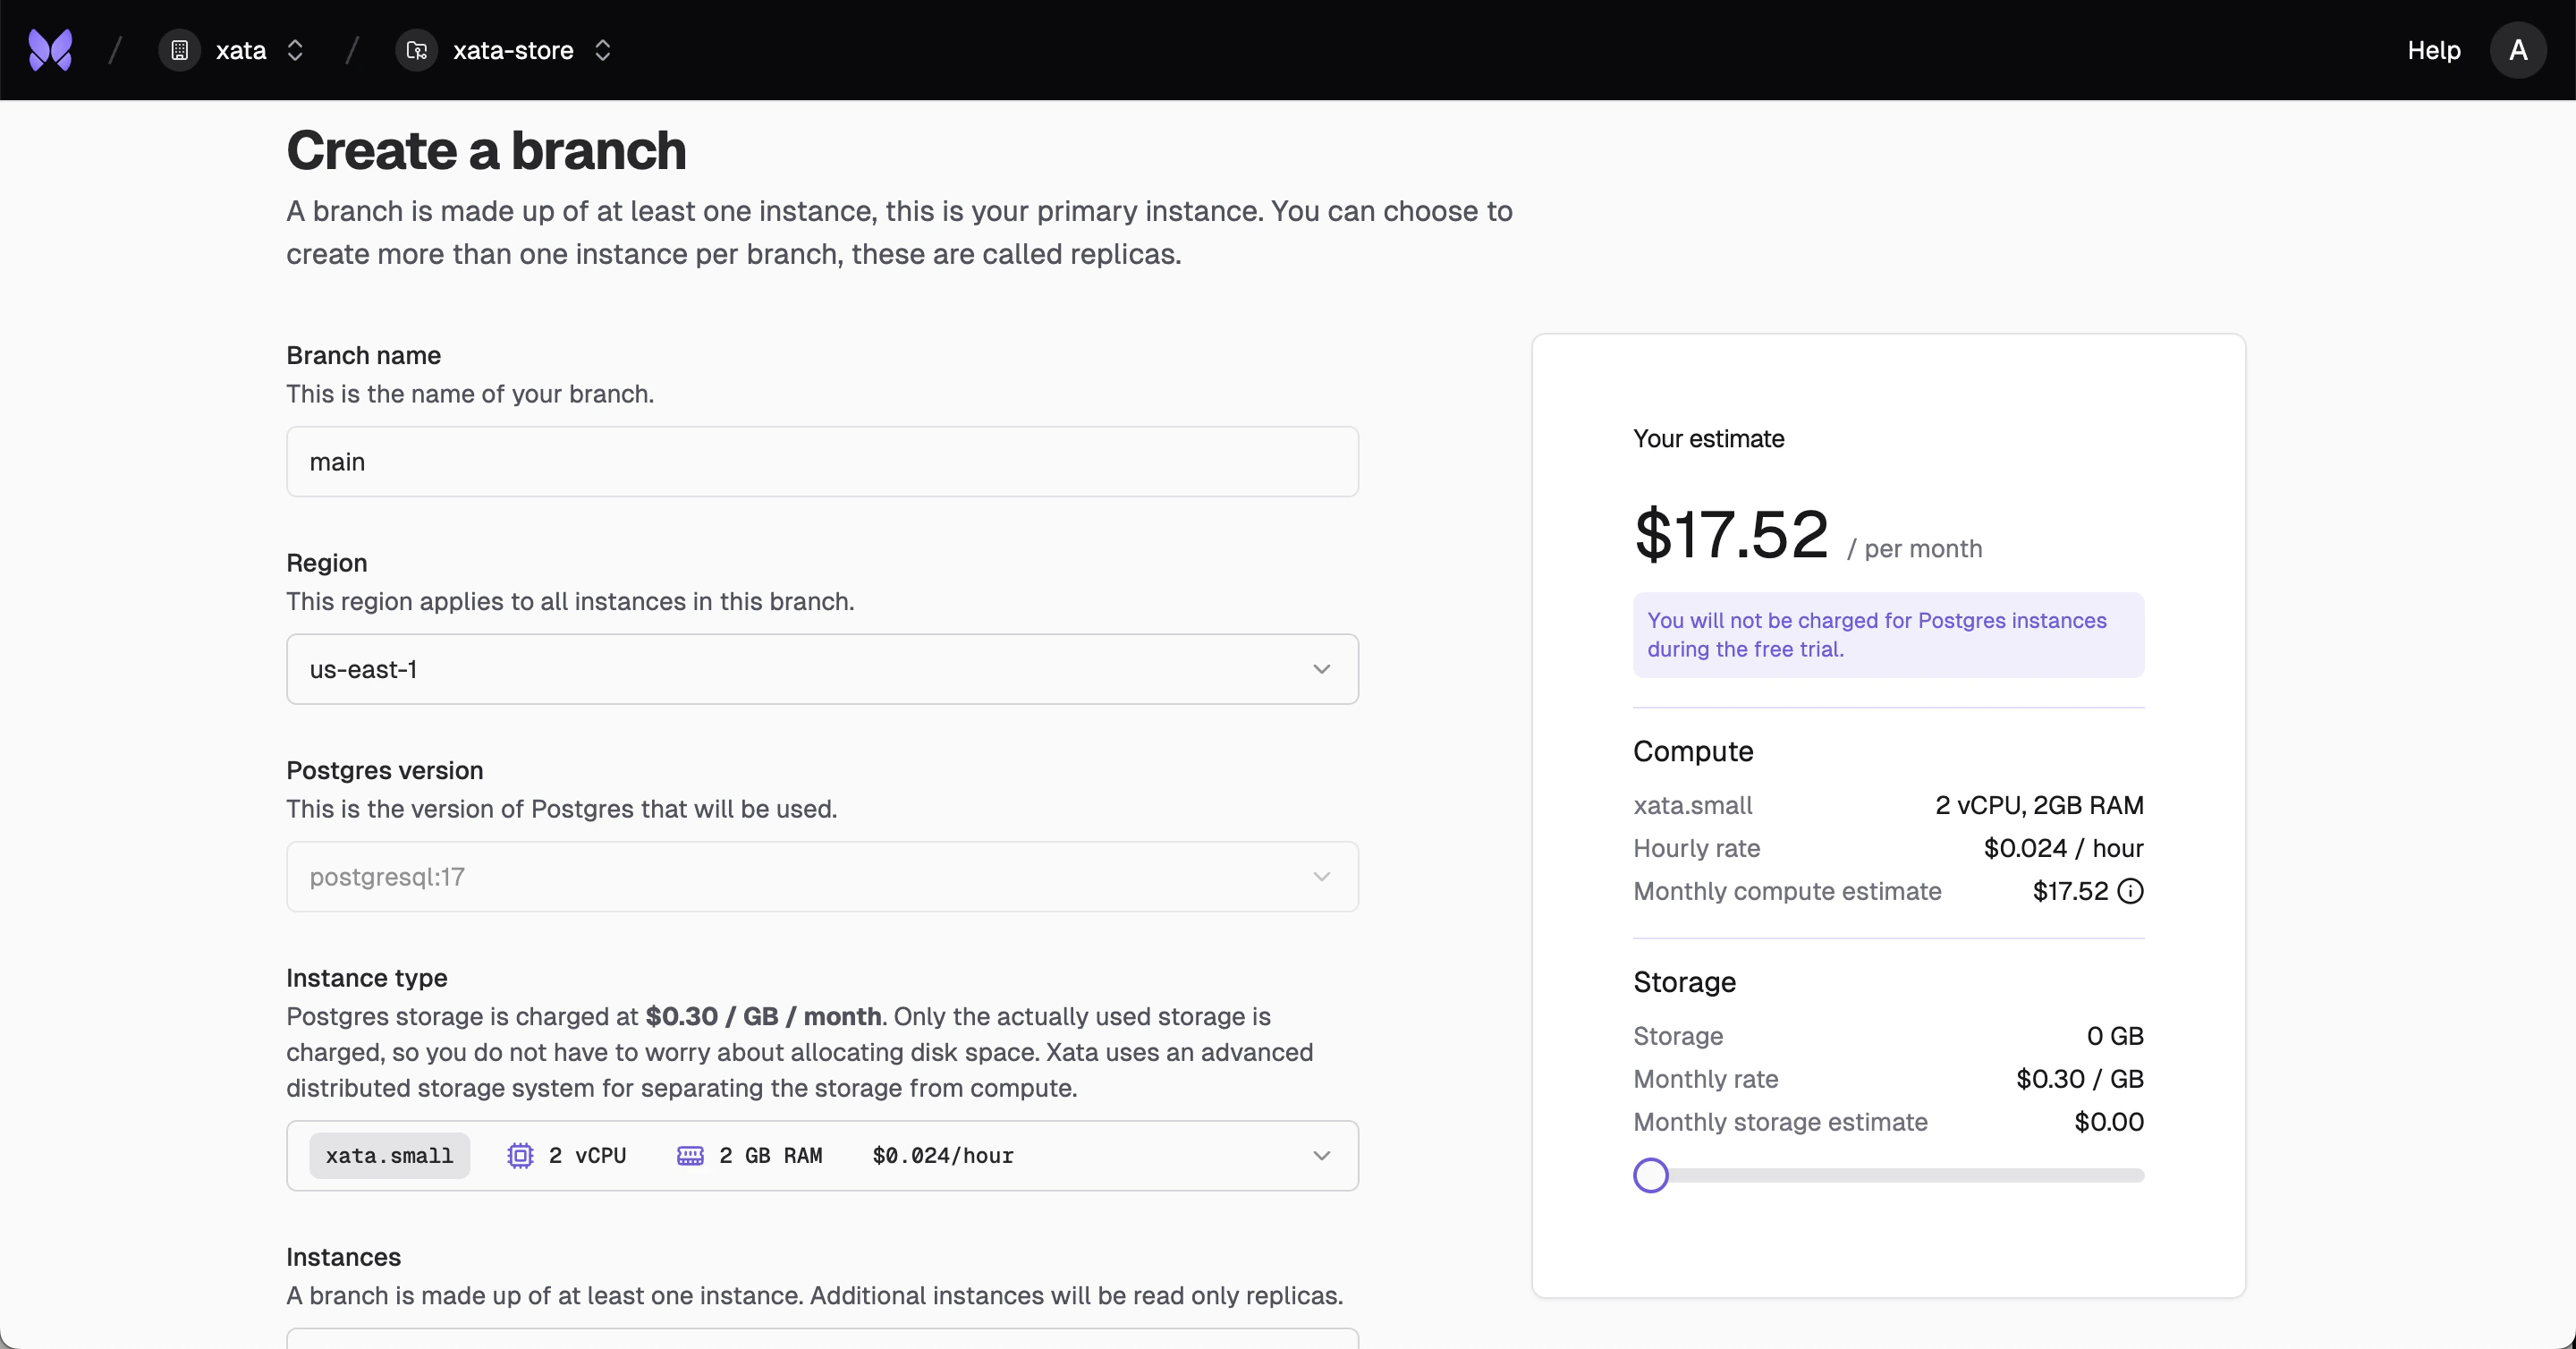
Within your project, create your first branch (e.g., `main`). A branch is a Postgres cluster—a collection of one or more Postgres instances, which can include a primary and optional replicas. When creating your main branch, you can choose the Postgres version, region, and instance size to fit your needs. This branch can serve as your production branch or a staging environment. You can branch off `main` at any time to create isolated development or test environments.
## 3. Create a branch
Within your project, create your first branch (e.g., `main`). A branch is a Postgres cluster—a collection of one or more Postgres instances, which can include a primary and optional replicas. When creating your main branch, you can choose the Postgres version, region, and instance size to fit your needs. This branch can serve as your production branch or a staging environment. You can branch off `main` at any time to create isolated development or test environments.
 ## 4. Install and configure the Xata CLI
Install the Xata CLI:
```bash theme={null}
curl -fsSL https://xata.io/install.sh | bash
```
Authenticate with your Xata account:
```bash theme={null}
xata auth login
```
Initialize your project by running this command in your project directory:
```bash theme={null}
xata init
```
This will create a `.xata` directory with your project configuration.
## 5. Insert sample data
Let's insert some sample data using `psql`. If you don't have `psql` installed:
```bash macOS theme={null}
## If you are using bash, replace `~/.zshrc` with `~/.bash_profile`
brew install libpq
echo 'export PATH="/opt/homebrew/opt/libpq/bin:$PATH"' >> ~/.zshrc
source ~/.zshrc
```
```bash Ubuntu theme={null}
sudo apt install postgresql-client-17
```
```bash Windows theme={null}
Download from [PostgreSQL official site](https://www.postgresql.org/download/windows/).
```
Connect to `psql` with your dev branch connection string
```sh theme={null}
psql `xata branch url`
```
First, create the required tables:
```sql theme={null}
CREATE TABLE products (
id SERIAL PRIMARY KEY,
name TEXT NOT NULL,
price NUMERIC(7,2) NOT NULL
);
CREATE TABLE orders (
id SERIAL PRIMARY KEY,
created_at TIMESTAMP DEFAULT NOW()
);
CREATE TABLE order_items (
id SERIAL PRIMARY KEY,
order_id INT REFERENCES orders(id),
product_id INT REFERENCES products(id),
qty INT NOT NULL
);
```
Then run the following SQL to insert sample data:
```sql theme={null}
INSERT INTO products(name,price) SELECT LEFT(md5(i::text),8),(random()*90+10)::numeric(7,2) FROM generate_series(1,10)i;
WITH o AS (INSERT INTO orders DEFAULT VALUES RETURNING id) INSERT INTO order_items(order_id,product_id,qty) SELECT o.id,pid,(1+floor(random()*3))::int FROM o,(SELECT id pid FROM products ORDER BY random() LIMIT 5)p;
```
## 6. Create a development branch with the CLI
Create a new branch from `main`:
```bash theme={null}
xata branch create --name dev --parent-branch `xata branch get id`
```
This command will automatically checkout the new branch for you, with the data from `main`.
## 7. Next steps: choose your workflow
Now that you have a base branch and development branch to try out, explore what the rest of the platform has to offer.
* **[Set up a production clone](/tutorials/create-production-clone):** Learn how to use Xata for production clones, feature branches, and collaborative development.
* **[Schema changes](/tutorials/schema-change):** Learn how to safely apply and roll back schema changes with zero downtime.
* **[Migrate to Xata](/migrations/):** Get set up for production by migrating your existing PostgreSQL database to Xata.
***
**Need help?** Reach out to the Xata team at [info@xata.io](mailto:info@xata.io) or join our Discord community.
## 4. Install and configure the Xata CLI
Install the Xata CLI:
```bash theme={null}
curl -fsSL https://xata.io/install.sh | bash
```
Authenticate with your Xata account:
```bash theme={null}
xata auth login
```
Initialize your project by running this command in your project directory:
```bash theme={null}
xata init
```
This will create a `.xata` directory with your project configuration.
## 5. Insert sample data
Let's insert some sample data using `psql`. If you don't have `psql` installed:
```bash macOS theme={null}
## If you are using bash, replace `~/.zshrc` with `~/.bash_profile`
brew install libpq
echo 'export PATH="/opt/homebrew/opt/libpq/bin:$PATH"' >> ~/.zshrc
source ~/.zshrc
```
```bash Ubuntu theme={null}
sudo apt install postgresql-client-17
```
```bash Windows theme={null}
Download from [PostgreSQL official site](https://www.postgresql.org/download/windows/).
```
Connect to `psql` with your dev branch connection string
```sh theme={null}
psql `xata branch url`
```
First, create the required tables:
```sql theme={null}
CREATE TABLE products (
id SERIAL PRIMARY KEY,
name TEXT NOT NULL,
price NUMERIC(7,2) NOT NULL
);
CREATE TABLE orders (
id SERIAL PRIMARY KEY,
created_at TIMESTAMP DEFAULT NOW()
);
CREATE TABLE order_items (
id SERIAL PRIMARY KEY,
order_id INT REFERENCES orders(id),
product_id INT REFERENCES products(id),
qty INT NOT NULL
);
```
Then run the following SQL to insert sample data:
```sql theme={null}
INSERT INTO products(name,price) SELECT LEFT(md5(i::text),8),(random()*90+10)::numeric(7,2) FROM generate_series(1,10)i;
WITH o AS (INSERT INTO orders DEFAULT VALUES RETURNING id) INSERT INTO order_items(order_id,product_id,qty) SELECT o.id,pid,(1+floor(random()*3))::int FROM o,(SELECT id pid FROM products ORDER BY random() LIMIT 5)p;
```
## 6. Create a development branch with the CLI
Create a new branch from `main`:
```bash theme={null}
xata branch create --name dev --parent-branch `xata branch get id`
```
This command will automatically checkout the new branch for you, with the data from `main`.
## 7. Next steps: choose your workflow
Now that you have a base branch and development branch to try out, explore what the rest of the platform has to offer.
* **[Set up a production clone](/tutorials/create-production-clone):** Learn how to use Xata for production clones, feature branches, and collaborative development.
* **[Schema changes](/tutorials/schema-change):** Learn how to safely apply and roll back schema changes with zero downtime.
* **[Migrate to Xata](/migrations/):** Get set up for production by migrating your existing PostgreSQL database to Xata.
***
**Need help?** Reach out to the Xata team at [info@xata.io](mailto:info@xata.io) or join our Discord community.